Cannabis Training
Techniques
LST, topping, FIMming, SCROG, SOG, mainlining, supercropping — every training method explained with step-by-step instructions, yield gains, and difficulty ratings.
⚡ Why Train?
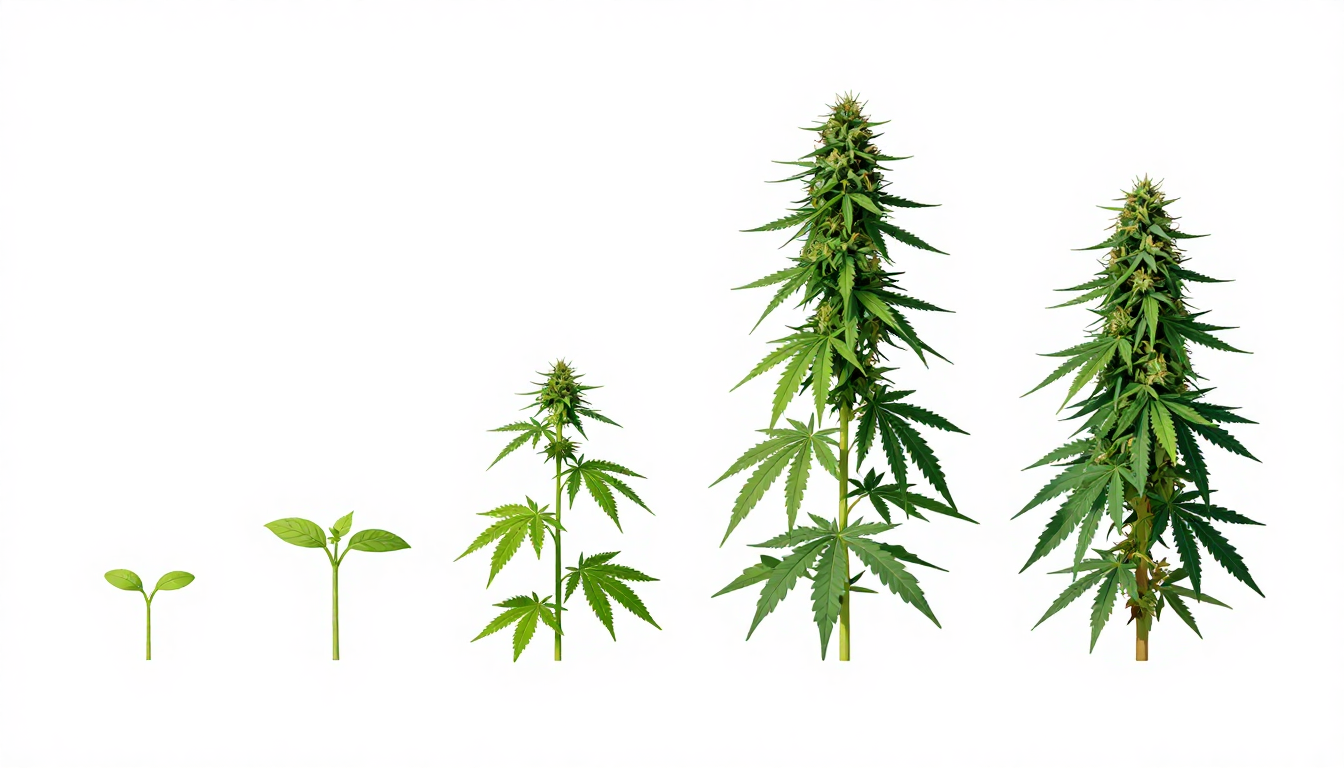
Untrained cannabis grows as a Christmas tree — one dominant central cola surrounded by small, shaded branches. Training breaks that pattern, creating a flat, even canopy where every bud site gets equal light. The result: 20–100% more yield from the same light and space.
Quick Comparison
| Technique | Difficulty | Stress | Yield Gain | Works on Autos? |
|---|---|---|---|---|
| 🪢 LST | Beginner | Low | +20–40% | ✅ Yes |
| ✂️ Topping | Intermediate | Medium | +30–50% | ❌ No |
| 🤌 FIMming | Intermediate | Medium | +30–60% | ❌ No |
| 🕸️ SCROG | Intermediate | Low | +40–100% | ✅ Yes |
| 🌊 SOG | Beginner–Intermediate | None | +30–50% per cycle (faster cycles = more annual yield) | ✅ Yes |
| 🔱 Mainlining | Advanced | High | +40–80% | ❌ No |
| 💪 Supercropping | Intermediate–Advanced | High | +20–35% | ❌ No |
| 🍭 Lollipopping | Beginner–Intermediate | Low–Medium | Quality increase + top cola size +20–30% | ❌ No |
LST — Low Stress Training
Bend and tie down branches to create a flat, wide canopy. No cutting required. Exposes more bud sites to light.
📋 Step by Step
- 1Start when plant is 20–30cm tall with 4–6 nodes
- 2Gently bend the main stem toward the edge of the pot
- 3Secure with soft wire, zip ties, or plant clips to the pot rim
- 4As new growth reaches up, bend and tie it outward too
- 5Continue throughout veg until canopy is flat and even
- 6Remove ties at flowering start — plant holds shape naturally
✅ Pros
- +Works on autoflowers (low stress = no lost time)
- +No recovery period needed
- +Dramatically improves light penetration
- +Easy for beginners
⚠️ Cons
- −Requires daily attention during veg
- −Less dramatic than topping for yield gain
- −Needs more horizontal space
💡 Pro Tip
Use soft garden wire or pipe cleaners — never string that cuts into stems.
Topping
Cut the main growing tip to create two main colas instead of one. Repeat multiple times for a multi-top bush with even canopy.
📋 Step by Step
- 1Wait until plant has 5–6 nodes (30–45cm tall)
- 2Use sterile scissors or a razor blade
- 3Cut the main stem just above the 5th node
- 4Two new main shoots will grow from the remaining nodes
- 5Allow 1–2 weeks recovery before topping again
- 6Can top 2–4 times for 4, 8, or 16 main colas
✅ Pros
- +Creates multiple main colas of equal size
- +Easy to learn
- +Works beautifully with SCROG
⚠️ Cons
- −Not suitable for autoflowers (uses recovery time)
- −Risk of infection if scissors aren't sterile
- −Delays flowering slightly
💡 Pro Tip
Always sterilize your cutting tool with isopropyl alcohol. A clean cut heals 10x faster than a torn stem.
FIMming
FIM = 'F*** I Missed.' Pinch or cut only 75% of the main growing tip — instead of 2 new tops like topping, you get 3–4 new tops from one cut.
📋 Step by Step
- 1Identify the newest emerging growth tip
- 2Pinch or cut the top 75% of the new growth (not the full node)
- 3Leave 25% of the new shoot intact
- 43–4 new main colas will emerge within 7–10 days
- 5Can be combined with LST for maximum coverage
✅ Pros
- +Creates more tops per cut than topping (3–4 vs 2)
- +Slightly less stress than topping
- +Less precise cutting angle required
⚠️ Cons
- −Less predictable than topping
- −Requires accurate 75% removal
- −Still not ideal for autoflowers
💡 Pro Tip
FIMming is actually easier than topping — you don't need a clean precise cut. Just pinch off about 3/4 of the new growth.
SCROG — Screen of Green
Stretch a horizontal screen (net/trellis) above your plants. Weave branches through it as they grow to create a perfectly even canopy that maximizes every inch of your grow space.
📋 Step by Step
- 1Install a mesh screen 20–30cm above pot tops
- 2Let plants grow through the screen naturally at first
- 3Once branches emerge 10cm above screen, weave them back through horizontally
- 4Fill every square of the screen with an even branch
- 5Flip to flower when screen is 70–80% full
- 6Remove any growth below the screen (lollipopping) for airflow
✅ Pros
- +Maximizes every watt of light across the canopy
- +Perfect for 1–4 plant legal limits
- +Creates enormous flat colas
- +Best technique for indoor efficiency
⚠️ Cons
- −Requires permanent screen setup
- −Hard to move plants once trained
- −Takes longer in veg to fill screen
💡 Pro Tip
Use nylon string mesh or a garden trellis net. 5cm × 5cm holes are ideal. Build it removable for harvest.
SOG — Sea of Green
Pack many small plants together and flip to flower very early — each plant produces one main cola. Speed over size. Multiple quick harvests per year beats fewer big harvests.
📋 Step by Step
- 1Start many small plants or clones simultaneously
- 2Use small pots (1–3 gallon) densely packed
- 3Flip to 12/12 light schedule when plants are only 20–30cm tall
- 4Each plant produces one large central cola
- 5Harvest all at once, then restart immediately
- 6Lollipop lower growth to improve airflow and focus energy upward
✅ Pros
- +Fastest path to harvest
- +Ideal for clone-based operations
- +Simple execution
- +Maximizes annual harvest cycles
⚠️ Cons
- −Requires many plants (may conflict with legal limits)
- −Less yield per plant
- −Dense canopy needs good airflow to prevent mold
💡 Pro Tip
SOG works best with fast-flowering indica strains. Clone identical genetics for uniform harvest timing.
Mainlining
Create a symmetrical plant with an equal number of main colas (typically 8 or 16) all receiving identical energy from the root system. Most time-intensive technique but produces the most uniform harvest.
📋 Step by Step
- 1Top at the 3rd node — remove everything below node 3
- 2Tie down both new tops horizontally (180° apart)
- 3Let 4 new shoots develop, top each one above node 3 again
- 4You now have 4 main branches — top again for 8, or again for 16
- 5Keep all branches at same height with LST throughout
- 6All colas receive equal light and equal energy
✅ Pros
- +Most uniform colas of any technique (consistent size at harvest)
- +Maximizes each branch's potential equally
- +Visually impressive, highly organized
⚠️ Cons
- −Most time-consuming technique
- −Multiple high-stress events = longest veg time
- −Mistakes are hard to correct mid-way
💡 Pro Tip
Think of mainlining as building a perfect binary tree. Each top doubles your main colas: 1 → 2 → 4 → 8 → 16.
Supercropping
Squeeze and bend a branch until the inner fibers collapse — but the outer skin stays intact. The plant heals by forming a knuckle that becomes stronger than before and increases resin production near the stress point.
📋 Step by Step
- 1Identify a branch you want to bend (2–4 weeks into veg)
- 2Squeeze the stem firmly between thumb and forefinger for 10–15 seconds
- 3Gently bend the softened stem to a 90° angle
- 4Support if needed — it will heal within 5–7 days
- 5The healed 'knuckle' sends stress signals that boost resin
- 6Works well on tall sativa branches to bring them level with others
✅ Pros
- +Doesn't require cutting
- +Tames tall sativa branches without losing the top
- +The stress response increases resin near the knuckle
- +Great for outdoor height control
⚠️ Cons
- −Easy to snap branch completely if done wrong
- −Higher stress = longer recovery
- −Not for autoflowers
💡 Pro Tip
If the branch snaps fully, tape it back together with electrical tape. Cannabis heals remarkably well — 70% of snapped branches recover fully.
Lollipopping
Remove all lower growth (small branches, popcorn buds) that won't receive enough light to produce quality buds. Redirects all plant energy to top-quality colas.
📋 Step by Step
- 1At flip to flower (or 1 week into flower)
- 2Remove all branches in the bottom 1/3 of the plant
- 3Remove any tiny 'popcorn' bud sites that won't develop fully
- 4Leave only the main branches with clear light access
- 5The plant looks like a lollipop — bare stem with bushy top
- 6Dramatically improves airflow, reducing mold risk
✅ Pros
- +Simple, fast, low-risk
- +Reduces mold risk by improving airflow
- +Energy redirect improves top cola density and size
- +Works with any other technique
⚠️ Cons
- −Reduces total bud count (but improves quality per bud)
- −Can be overdone — don't remove too much of the plant
💡 Pro Tip
Combine with SCROG or topping for maximum effect. Lollipopping alone on an untrained plant has limited yield benefit.